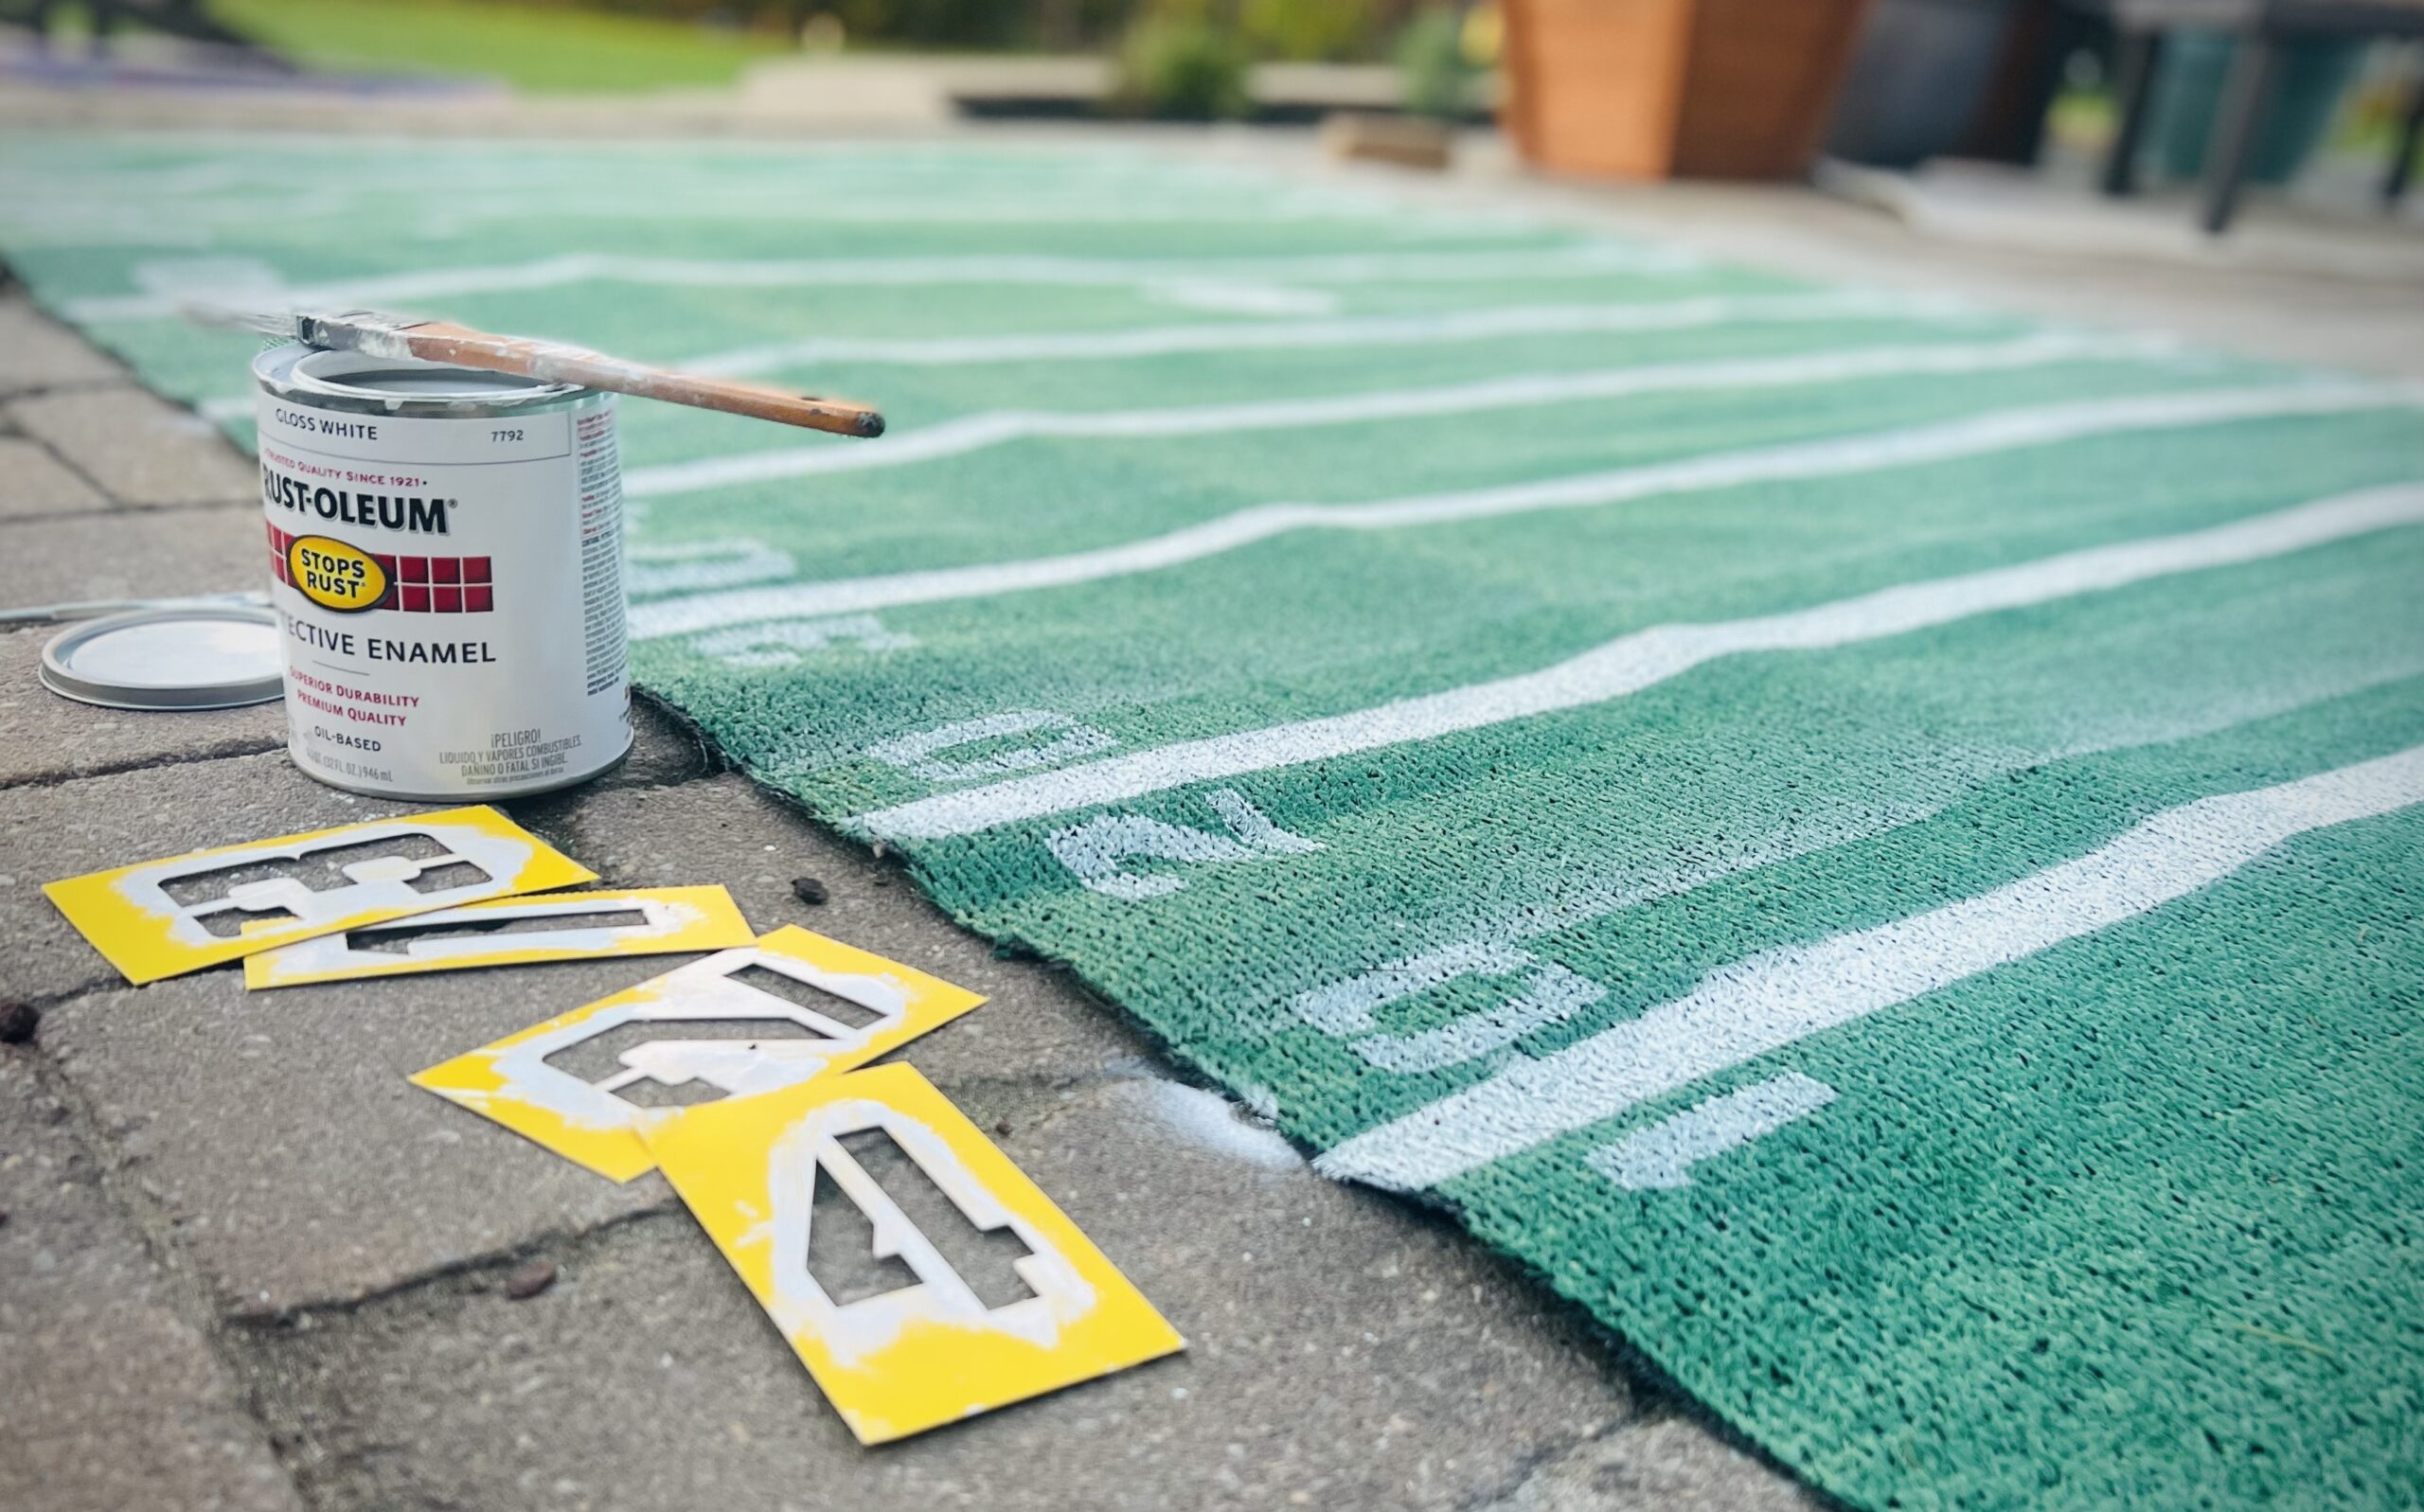
There are many components that go into constructing a comfortable and functional tailgating setup.
And like any well constructed building the foundation is the most important part of the entire structure and for the tailgating setup that foundation I the ground cover.
Most tailgating is done in a parking lot on asphalt, in a grassy field or even in dirt lots so to make the atmosphere a little more comfortable, adding something to cover the space around your tailgating area can make all the difference.
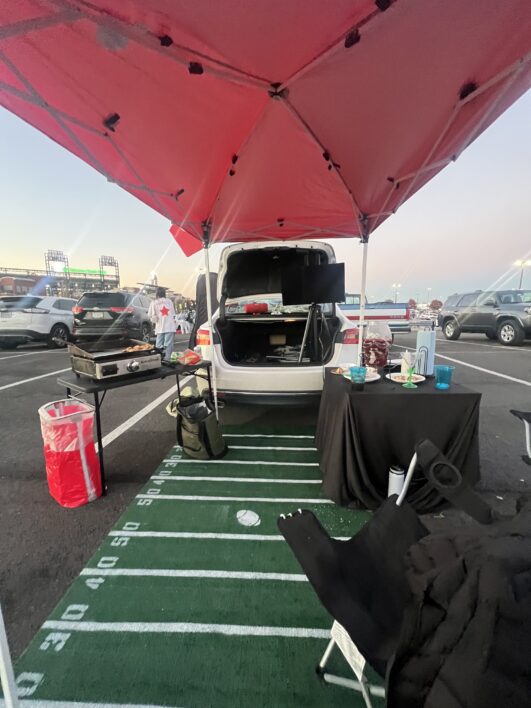
Anything can be used including carpet, camping mats and my favorite, artificial turf grass. The turf grass is durable, versatile, waterproof and can be easily customized for themes or sporting events.
I especially love it for football tailgating because it can easily be painted like a football field to make the atmosphere a little more festive.
To get started, I first measured the space around the area I was planning to tailgate in, to get an idea of how much turf I would be needing and in my case was it was 8ft x 9ft. This was the full width of most parking spaces and enough length to stick out from the back of my vehicle but not too much into the driving passage way.
Once I had my measurements I took a trip to my local HomeDepot to pick up my supplies.
Although you can purchase turf that is cut to length I noticed there were pre-cut pieces that closely matched my exact measurements so I picked one up for $25.
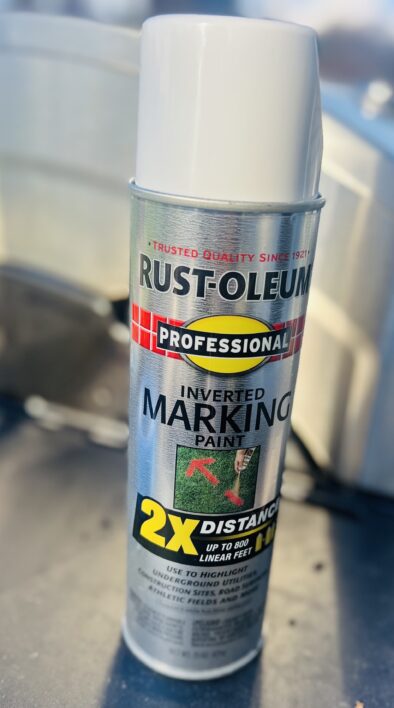
Next I grabbed some painters tape(1.88 inch), white gloss oil based paint, 3inch number stencils, a paint brush and a can of inverted gloss white spray paint.
The inverted spray paint can made it easier to paint the lines but it isn’t necessary and the oil based paint is sufficient.
I then unrolled my turf and laid it out on a flat surface(my patio) and did some quick measurements to get an idea where to place the yard lines. I started by halving the field measuring with a tape measure and then marking the lines from the center to the end zone with the tape so that there were five lines with enough space between them for the stencils. I just eye balled it and the measurements weren’t exact but they lined up ok.
Next I stretched the tape all the way across the field from side to side making sure the tape stuck to the turf by stepping on it.
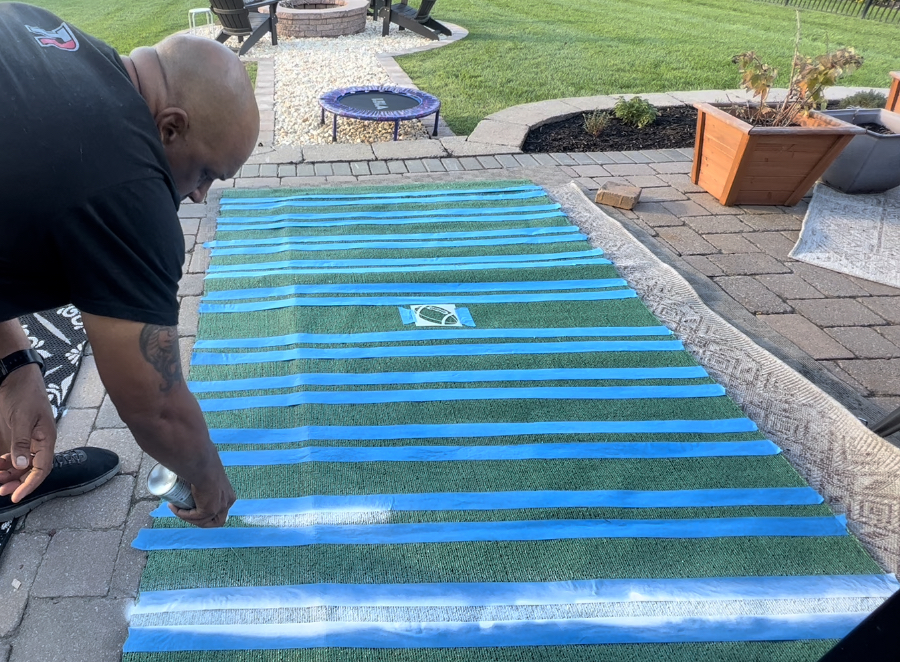
I took my spray paint and proceeded to spray the lines all the way up and down the field. There was some overspray because a slight breeze picked up but not too bad. When using the oil based paint with the brush the over spray could be avoided but it took a lot longer and took longer to dry but it turned out just as good.
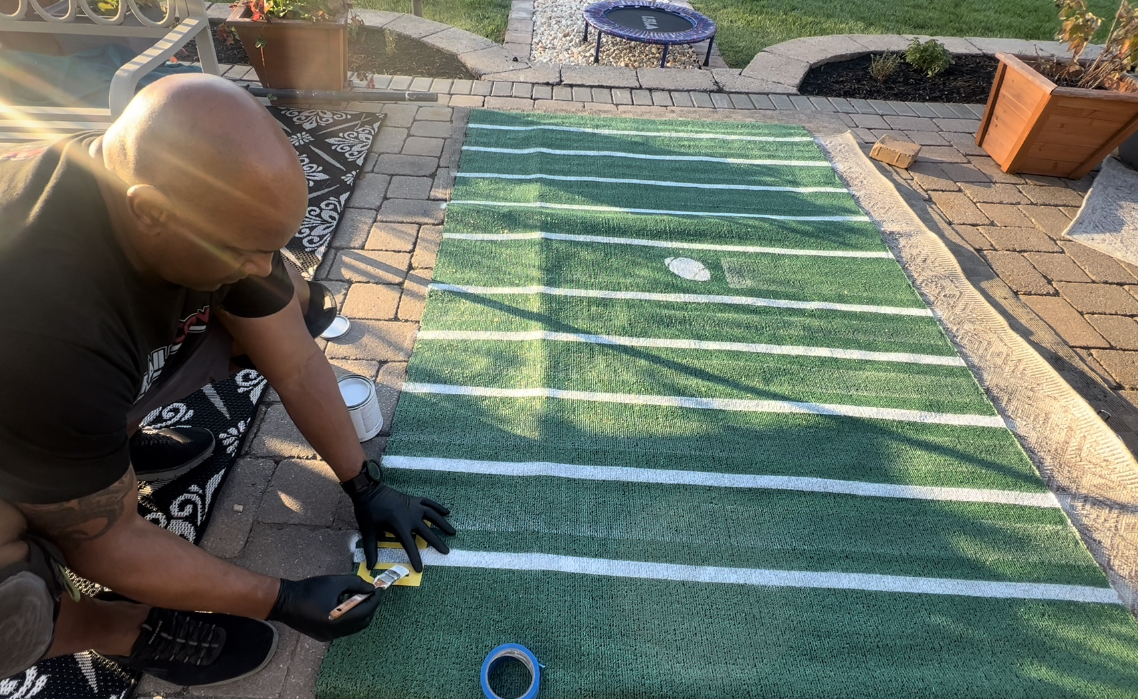
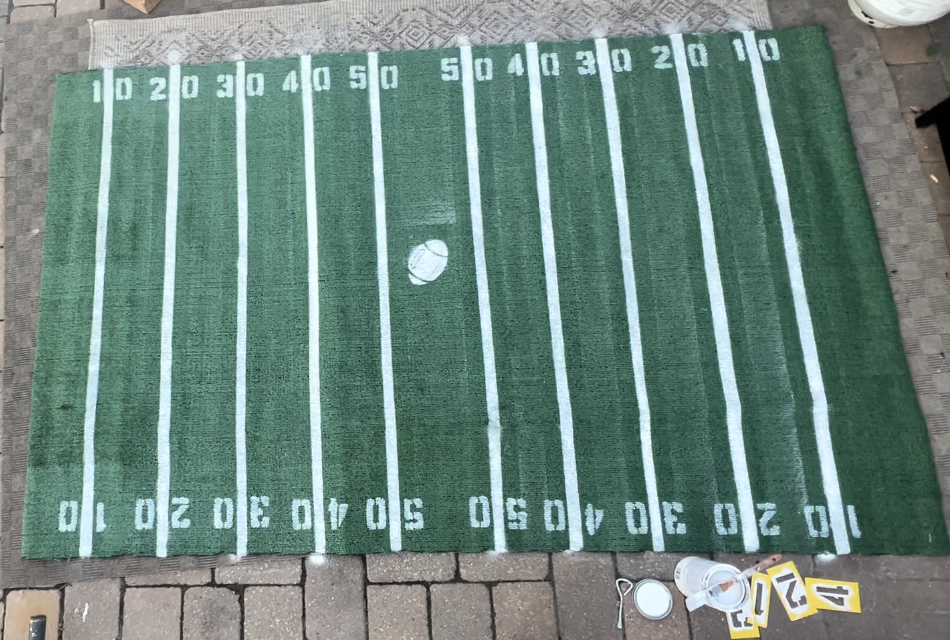
After the lines dried I removed the tape by pulling directly up across the field. I took the number stencils and placed them over the areas where I wanted the numbers and again just eye balled it. With the stencils I used the oil based paint with the brush and painted a few coats on each number so that it would really penetrate the turf and stand out.
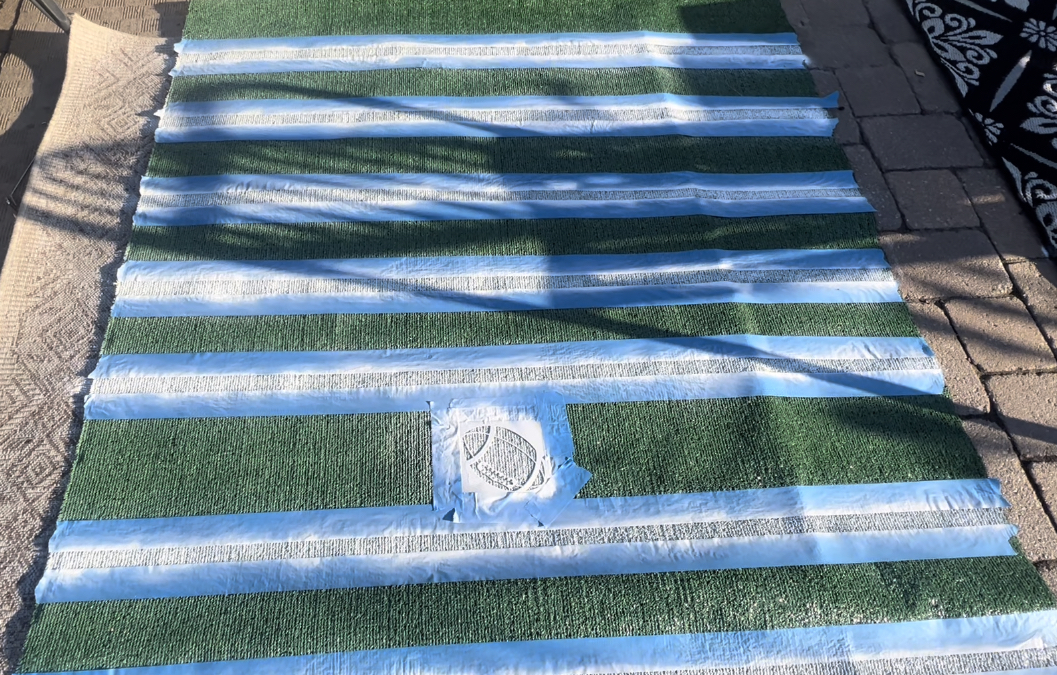
I picked up a football stencil on etsy.com and placed it in the center of the field with tape holding it down and used the brush to paint over it.
I let the turf sit in the sun and dry for 24hrs before stepping on it. Once dry I rolled it up and packed it up ready for it’s maiden voyage to the parking lot.
- Artificial Turf – $25
- Painters Tape – $8.50
- Number Stencils – $4
- Oil Based Paint – $17
- Inverted Spray Paint – $16
- Paint Brush – $4
- Total – $71


